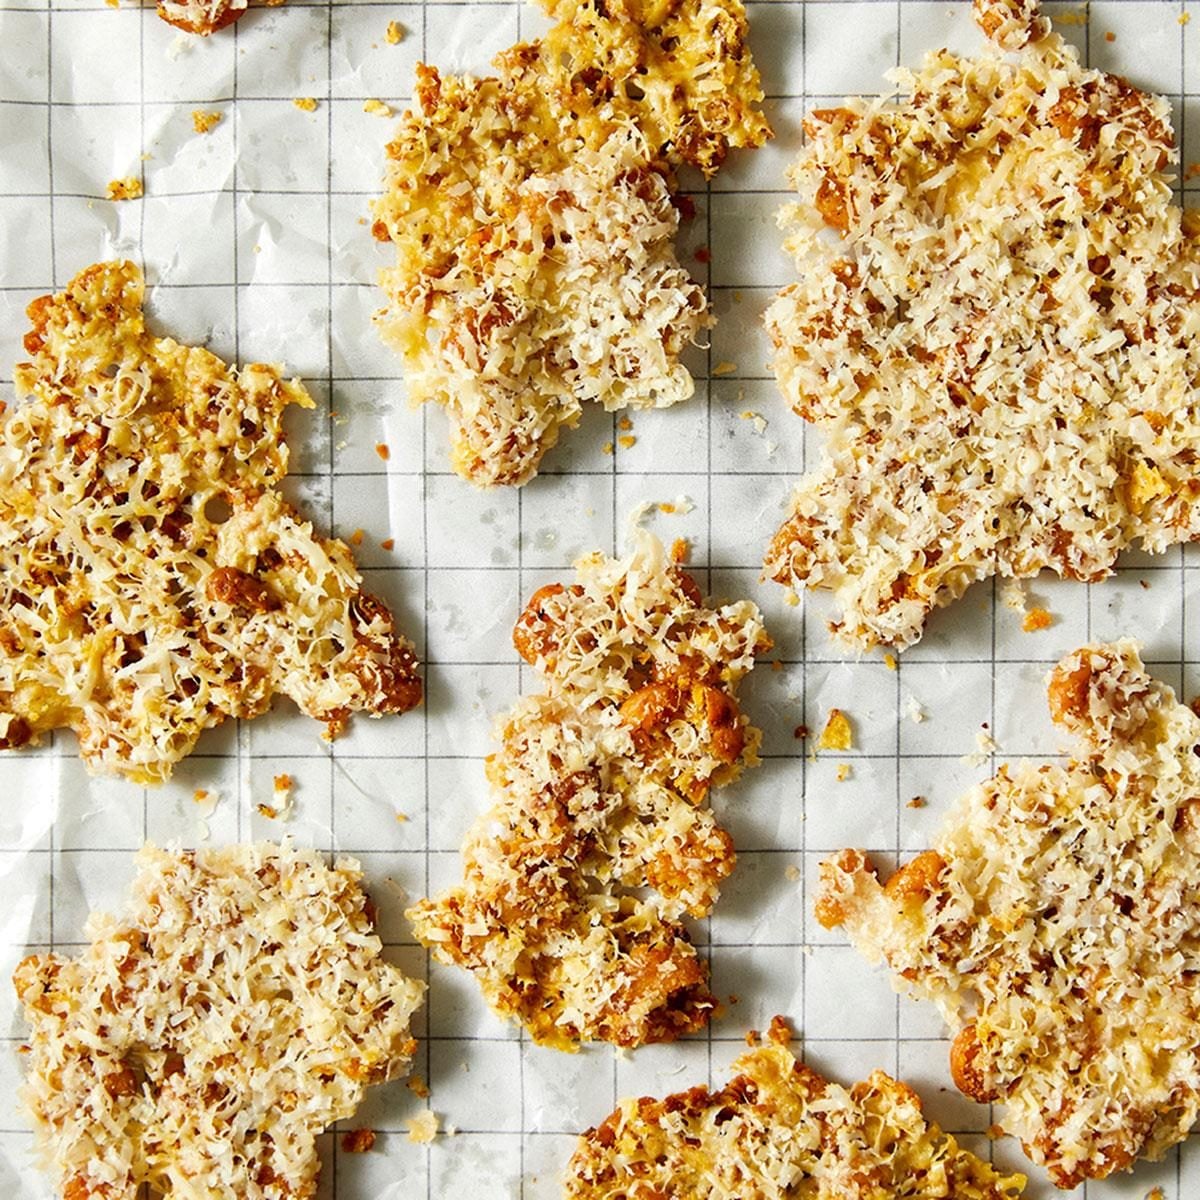
When the afternoon munchies hit, these chickpea crisps are sure to hit the spot.
Canned chickpeas are one of those ingredients we always have on hand in our pantry. They’re inexpensive, last a long time and are packed with good-for-you nutrients, such as protein, fiber and vitamins. With their mild flavor, chickpeas are very versatile and are a key ingredient in a variety of recipes, from hummus to veggie burgers.
This recipe for chickpea crisps is a tasty combination of roasted chickpeas and cheese crisps: Roasting the chickpeas makes them nice and crispy, and the melted Parmesan helps hold the beans together to make a delicious hand-held snack. My only recommendation? Make a double batch—they’ll disappear quickly!
Ingredients for Chickpea Crisps
- Chickpeas: You will need one 15-ounce can of chickpeas (also called garbanzo beans) for this recipe. These protein- and fiber-packed beans perfect for snacking have a mild nutty flavor.
- Olive oil: Olive oil helps the seasonings adhere to the chickpeas and enhances the flavor as the beans roast.
- Seasonings: The chickpeas are seasoned with a flavorful mix of salt, pepper, dried oregano and smoked paprika.
- Parmesan: After the chickpeas are roasted, they’re topped with grated Parmesan and returned to the oven. The melted Parmesan adds a savory and salty flavor and connects the chickpeas together to form crisps. Freshly grate the cheese for the best flavor and meltability.
Directions
Step 1: Bake the chickpeas

Preheat the oven to 375°F. Spread the drained and rinsed chickpeas over a towel and thoroughly pat dry. Transfer the chickpeas to a rimmed baking sheet and drizzle with olive oil.

Sprinkle with salt, pepper, smoked paprika and dried oregano. Gently toss to coat, then spread into an even layer. Bake for 20 minutes.
Step 2: Add the Parmesan

Remove the baking sheet from the oven and use a spatula to move the chickpeas closer together into a rectangular shape in the center of the sheet. Sprinkle evenly with the finely grated Parmesan.
Bake for an additional 8 to 10 minutes or until the Parmesan is melted and lightly golden on the edges.
Step 3: Break into pieces
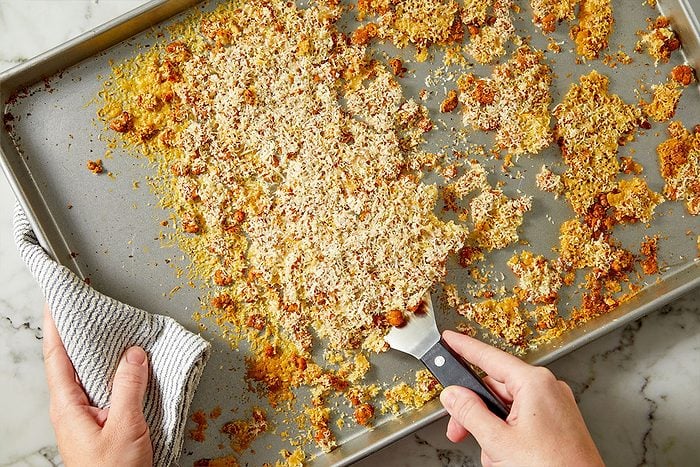
Remove from the oven and let the chickpea crisp cool on the pan for five minutes. Use a spatula to gently release the crisp from the baking sheet, and break into bite-sized pieces.

Chickpea Crisp Variations
- Switch up the spices: This chickpea recipe is incredibly versatile and you can easily change up the flavor profile by using different herbs and spices. A few options include dried thyme, lemon or orange zest, Aleppo pepper, crushed red pepper flakes, ground cumin or chili powder. Or, try a blend of herbs and spices such as curry powder, garam masala, Italian seasoning, herbes de Provence or your favorite seasoning blend.
- Change up the cheese: Use a different hard cheese, such as finely grated Gruyere, Romano, Asiago or aged cheddar in place of the Parmesan.
How to Store Chickpea Crisps
These chickpea crisps do not need to be refrigerated. After they have cooled completely, you can store them in an airtight container at room temperature.
How long do chickpea crisps last?
Chickpea crisps last up to five days, but do note the crisps will soften with time.
Do you need to reheat chickpea crisps?
You do not need to reheat chickpea crisps. However, if you would like a crispier texture, you can reheat the crisps on a baking sheet in a 350° oven for about five minutes.
Chickpea Crisp Tips

What can you serve with chickpea crisps?
These chickpea crisps are deliciously snackable on their own. However, they would also fit right in on a shared appetizer platter, such as a cheese board or charcuterie board.
Ingredients
- 1 can (15 ounces) chickpeas, rinsed and drained
- 2 teaspoons olive oil
- 1/2 teaspoon smoked paprika
- 1/2 teaspoon dried oregano
- Salt and pepper to taste
- 2 ounces finely grated Parmesan cheese
Directions
-
1Preheat the oven to 375°.
-
2Spread the chickpeas out on a kitchen towel; thoroughly pat dry. Transfer to a 15x10x1-in. baking sheet. Drizzle with oil; sprinkle with paprika, oregano, salt and pepper. Gently toss to coat; spread into an even layer. Bake 20 minutes.
-
3Remove from the oven. Use a spatula to push the chickpeas into a rectangular shape in the center of the baking sheet. Sprinkle evenly with Parmesan. Bake 8-10 minutes or until the Parmesan is melted and lightly golden on the edges. Let cool on the pan for 5 minutes. Use a spatula to gently release the crisp from the baking sheet and break into bite-size pieces.