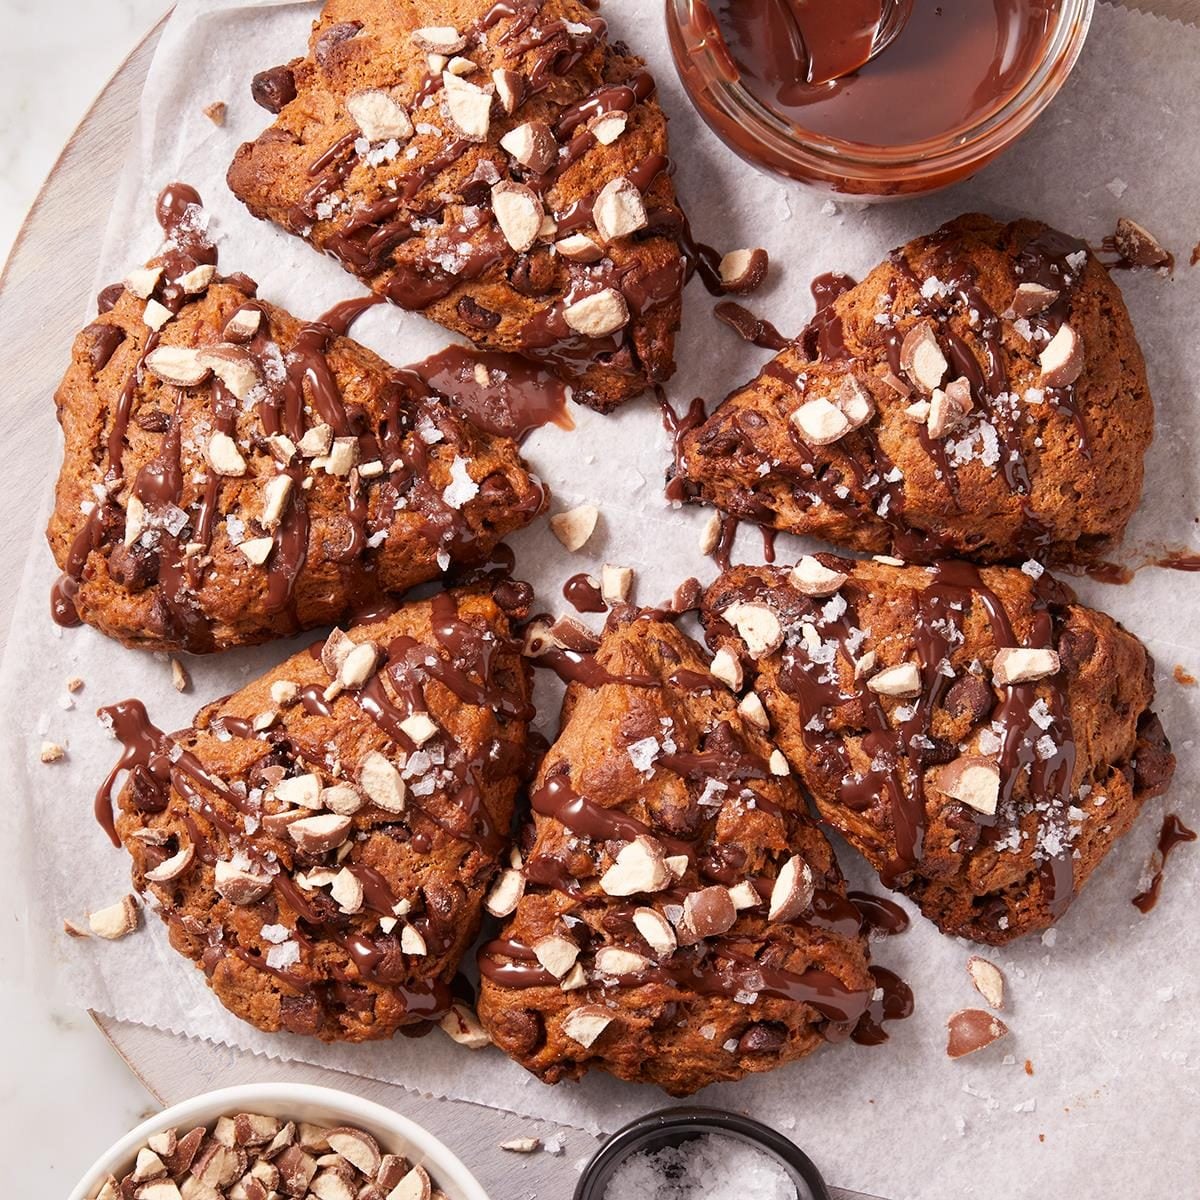
Our triple-chocolate salty malty scones are infused with malted milk powder, drizzled with chocolate glaze and finished with flaky salt.
I’m not usually one to bake with malted milk powder, but the promise of these triple-chocolate salty malty scones is more than enough to convince me to buy a container. The malted milk powder creates a distinctly toasty, nutty, milky flavor among the other bittersweet and salty ingredients like chocolate chips, ganache-like glaze and a salty, crunchy topping.
This old-fashioned ingredient has recently had a resurgence, and it’s been used for far more than just thickening milkshakes. In baking, malted milk powder unlocks a toasty, nutty aroma and a softer crumb. It also creates even browning, which is more noticeable in our malted chocolate chip cookies recipe.
Ingredients for Salty Malty Scones
- All-purpose flour: No need for any fancy type of flour here. All-purpose flour makes the scones perfectly tender yet stable and tall.
- Malted milk powder: Find malted milk powder in the baking aisle. You likely won’t use all of it for this recipe, so save leftover malted milk powder for waffles, cookies, chocolate frosting and, of course, milkshakes.
- Baking cocoa: You’re essentially making chocolate scones in this recipe, so the cocoa powder plays a major role. For these types of bakes, I like to splurge on the best cocoa powder for a quality chocolate flavor.
- Butter: Cube the butter beforehand, then put it back in the fridge until you’re ready to use it. I’ll sometimes even freeze the butter for 10 or 15 minutes to chill it thoroughly for the flakiest, tallest scones.
- Buttermilk: Buttermilk makes the scones nice and tender and a little tangy. To make a buttermilk substitute, add 1 tablespoon of distilled white vinegar or lemon juice to a measuring cup, then pour whole milk over it until it reaches the 1-cup mark. Stir them together, then let the mixture sit for 10 minutes. It might curdle a bit, so just whisk it back together before using it in the dough.
- Chocolate chips: You’ll need an entire package of semisweet chocolate chips for the scone dough, plus a few extra tablespoons for the glaze. Since there’s so much, I recommend buying the best chocolate chips you can find.
- Glaze: Make a quick chocolate glaze by melting heavy whipping cream with chocolate chips.
- Toppings: Finish the scones with crushed malted milk balls and flaky salt to really lean into the salty-malty of it all.
Directions
Step 1: Make the dough
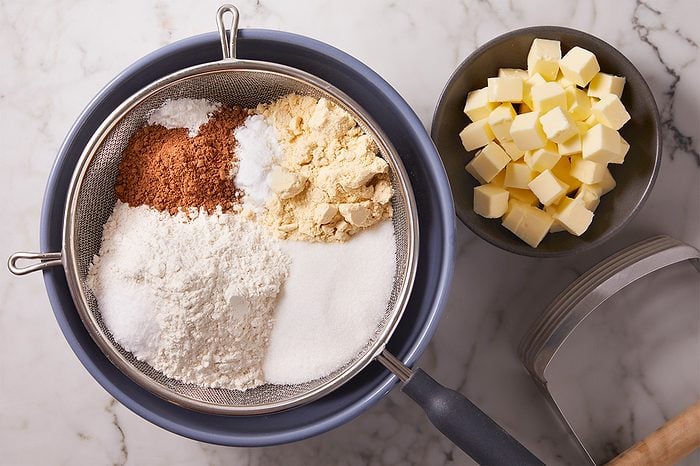
In a large bowl, sift together the all-purpose flour, malted milk powder, baking cocoa, sugar, baking powder, baking soda and salt. Cut in the cold, cubed butter until the mixture resembles coarse crumbs.

Stir in the buttermilk just until the dough is moistened.

Fold in the chocolate chips until they’re evenly dispersed.
Step 2: Shape the scones
Preheat the oven to 425°F. Turn the dough out onto a lightly floured surface, and knead it gently 10 to 12 times or until the dough is no longer sticky. Divide the dough in half, and gently pat or roll each portion into a 7-inch circle.
Step 3: Bake the scones
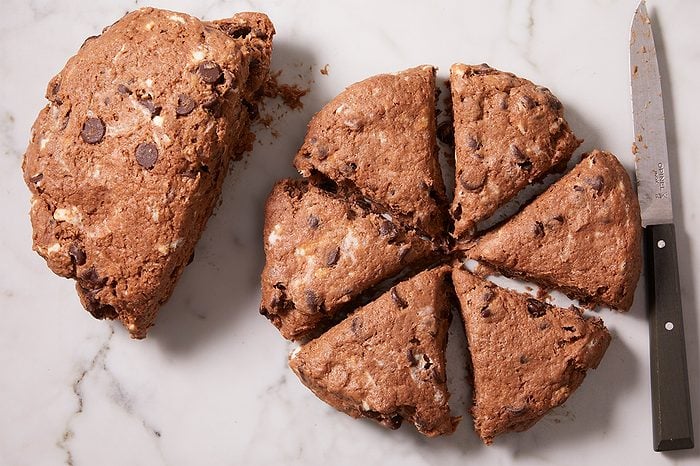
Cut each circle into six wedges. Separate the wedges and place them on an ungreased baking sheet.

Brush the tops with butter. Bake the scones for 12 to 15 minutes or until they’re lightly browned.
Step 4: Finish with toppings
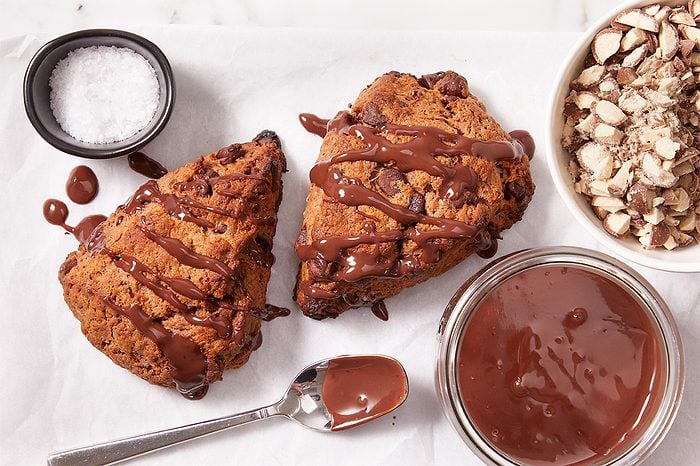
Meanwhile, in a small microwave-safe bowl, combine the heavy whipping cream and chocolate chips. Microwave them in 10- to 20-second intervals until they’re melted, stirring between each increment until the mixture is completely smooth.
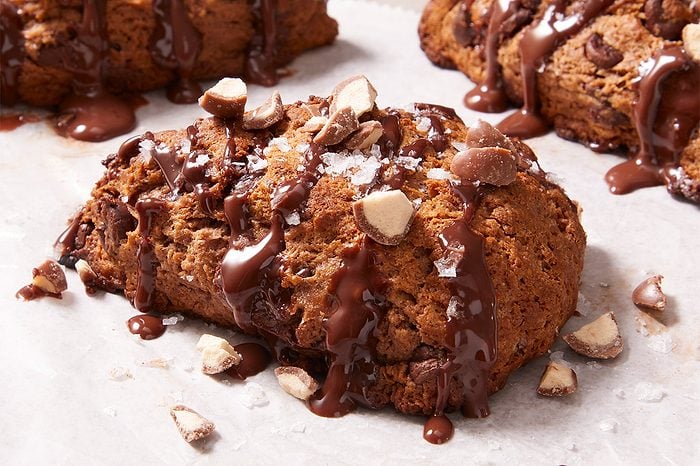
Drizzle the chocolate glaze over the scones. Sprinkle the tops with crushed malted milk balls and flaky sea salt.

Recipe Variations
- Add more mix-ins: Like cookies, you can go wild with inclusions for your scones. Add dried fruit, fresh berries, toasted nuts (hazelnuts would pair particularly well here) or other milk, white or dark chocolate baking chips.
- Change the glaze flavor: If the chocolate glaze is a little too much for you, feel free to drizzle on salted caramel sauce or a white chocolate glaze instead. Or, omit any type of glaze and sprinkle the wedges with turbinado sugar before baking them. They add sweetness, shine and a crunchy texture.
- Brown the butter: Like malted milk powder, browned butter deepens the toasty, nutty notes in the scones. Brown the butter, let it cool to room temperature, then let it resolidify in the fridge. Cube the butter, then refrigerate it again so it’s as cold as possible for the scones.
How to Store Salty Malty Scones
Let the salty malty scones cool completely to room temperature, then transfer them to an airtight container. Store the scones at room temperature for up to three days.
Can you make salty malty scones ahead of time?
Yes, you can make salty malty scones ahead of time. It’s the perfect trick to get ahead on breakfast! After shaping the two dough halves into 7-inch circles, wrap them tightly in storage wrap and refrigerate them overnight. The next morning, unwrap the dough halves and continue to follow the recipe by cutting the circles into six wedges.
Salty Malty Scones Tips
Can I make salty malt scones gluten free?
Unfortunately, you can’t make gluten-free salty malty scones if you want the malt powder aspect. Malt powder is made from barley and wheat, and there isn’t a great substitute currently. You can make regular chocolate scones gluten free by using a gluten-free flour blend in place of all-purpose flour. Finish the scones with chocolate glaze and flaky salt, but don’t add malted milk balls!
How do you serve salty malty scones?
Serve salty malty scones for brunch. This recipe definitely leans into the warmer flavors of fall and winter, and is the perfect bake for chilly fall mornings or for hosting loved ones for the holidays. Make it more of a meal by setting out plates of eggs, juicy breakfast sausages and a mountain of bacon. A bowl of fruit would be a lovely, lightened-up side for these scones.
Can I cut the scones into a different shape?
Yes, you can cut the scones into a shape other than triangles. Use a round or fluted biscuit cutter to cut out scones. I don’t recommend detailed cookie cutters, like ghosts or Santa shapes, because the scones’ rough, craggy edges won’t take on the details very well.
Ingredients
- 3 cups all-purpose flour
- 1/2 cup malted milk powder
- 1/4 cup baking cocoa
- 1/3 cup sugar
- 2-1/2 teaspoons baking powder
- 1/2 teaspoon baking soda
- 1/2 teaspoon salt
- 3/4 cup cold butter, cubed
- 1 cup buttermilk
- 1 package (12 ounces) semisweet chocolate chips
- 2 tablespoons butter, melted
- glaze:
- 3 tablespoons heavy whipping cream
- 3 tablespoons semisweet chocolate chips
- 1/2 cup malted milk balls, crushed
- Flaky sea salt
Directions
-
1In a large bowl, sift together flour, malted milk powder, cocoa, sugar, baking powder, baking soda and salt. Cut in butter until mixture resembles coarse crumbs. Stir in buttermilk just until moistened. Fold in chips.
-
2Turn onto a lightly floured surface; knead gently 10-12 times or until dough is no longer sticky. Divide in half; gently pat or roll each portion into a 7-in. circle.
-
3Cut each circle into six wedges. Separate wedges and place on an ungreased baking sheet. Brush with butter. Bake at 425° for 12-15 minutes or until lightly browned.
-
4Meanwhile, in a small microwave-safe bowl, combine heavy whipping cream and chocolate chips. Microwave in 10- to 20-second intervals until melted; stir until smooth. Drizzle over scones. Sprinkle with crushed malted milk balls and flaky sea salt.