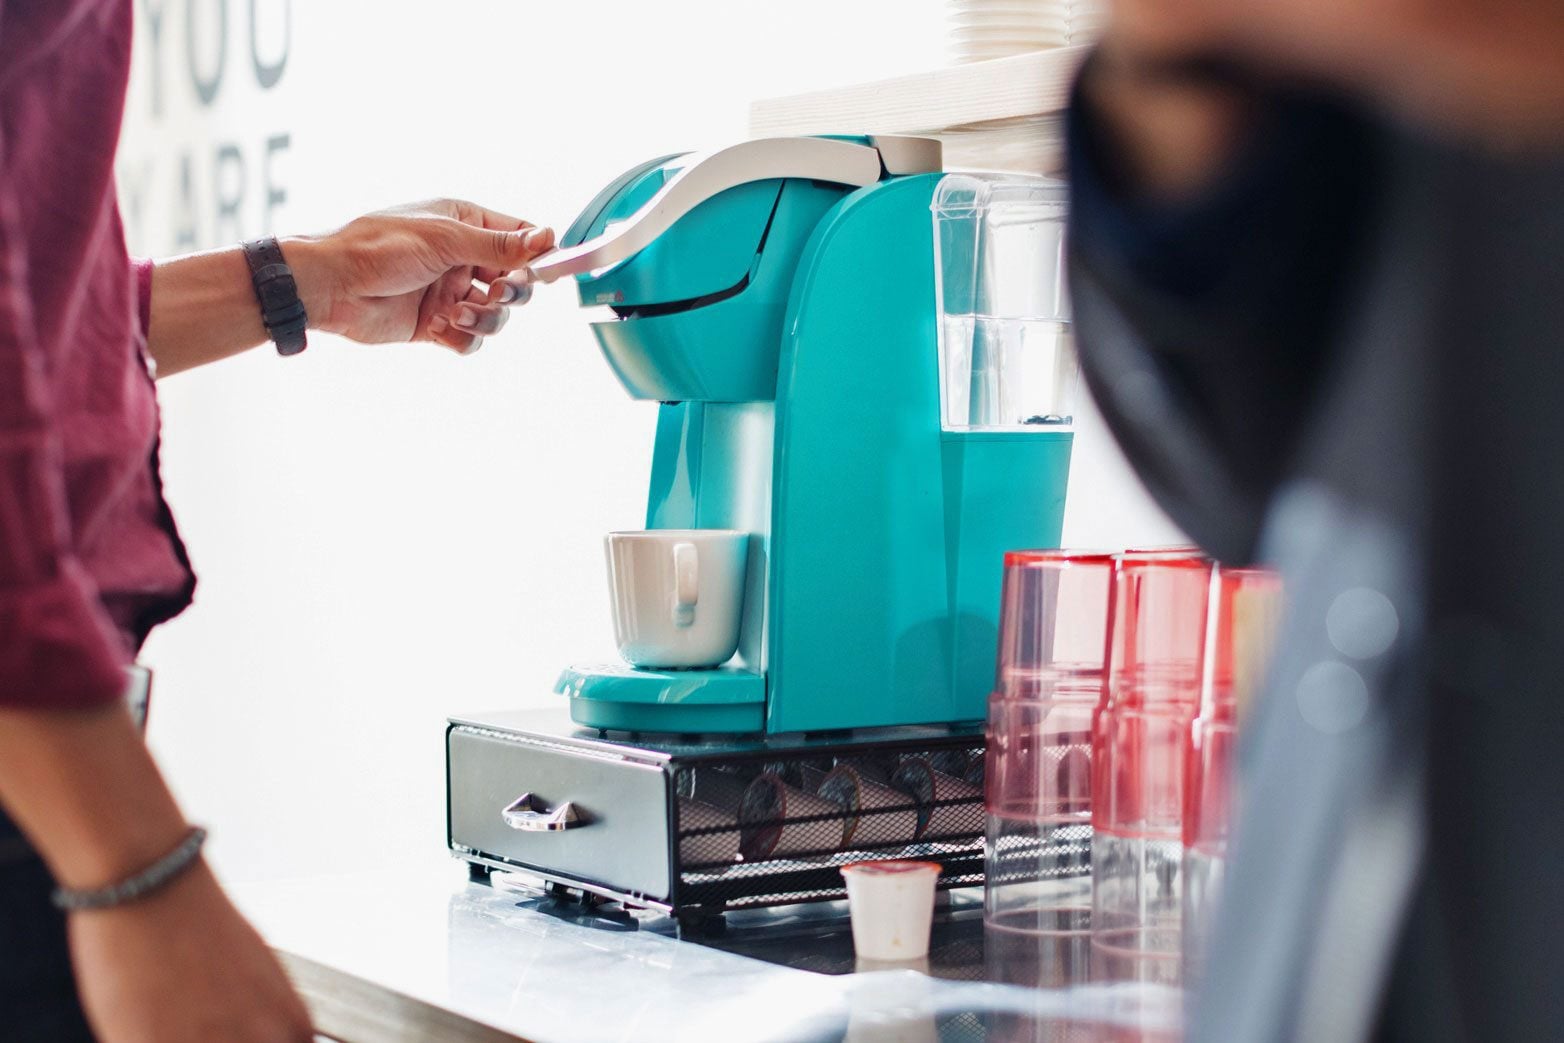
Get the most out of your single-serve coffee maker—and enjoy the best-tasting coffee—by learning how to clean a Keurig.
Our editors and experts handpick every product we feature. We may earn a commission from your purchases.
Learn more.
If your Keurig coffee maker is serving up its K-cup goodness multiple times a day, read on. Sure, frequent coffee drinking does have its benefits, but using your Keurig regularly without taking the time to care for or maintain it can have some pretty icky side effects.
Why do you need to clean a Keurig?
Cleaning a Keurig is a health and safety precaution. Like any other type of coffee maker, a Keurig can grow mold if it’s not properly drained, rinsed and cleaned. Aside from keeping mold and bacteria at bay, your Keurig should be cleaned on a regular basis so that it can perform to the best of its ability.
“All coffee contains a small amount of solids,” explains Matt Woodburn-Simmonds, co-founder of Home Coffee Expert. “These will gradually build up in the internal workings of your machine, and your fresh coffee will flow over these old bits of coffee. Your coffee can pick up unpleasant flavors from the old grounds, or even worse, you can have nasties growing in the old grounds getting into your fresh coffee.”
A quick clean-up will remove the mineral buildup in the machine that affects the taste and quality of the coffee being brewed. “A clean coffee machine makes an enormous difference to your finished coffee,” says Matt. “It’s just like cooking in a clean pan or a well-seasoned cast-iron skillet; the surfaces that your coffee touches can imbue some flavor, for good or bad. With coffee machines, it’s always bad.”
How often should you clean your Keurig?

Keurig highly recommends descaling a Keurig every three to six months. This should help prevent calcium deposits or scale buildup from occurring. The other parts of the Keurig should be given more regular attention, though. If you brew a K-cup every day, then the Keurig’s exterior, cold water reservoir, drip tray and pod holder should all be cleaned once a week.
It might seem like one more chore to add to the list, but cleaning your Keurig regularly will extend the life of your machine and keep your morning (and afternoon and evening) cup of coffee tasting fresh and strong.
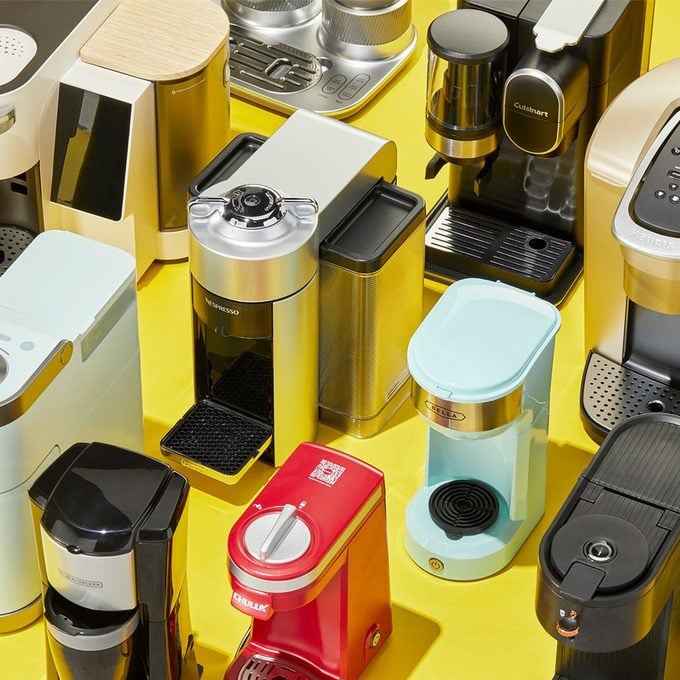
Our Editors Found the Best Single-Serve Coffee Makers
Sometimes you need only one really good cup of coffee. That's why we found the best single-serve machines for every brew style and budget.
What to clean Keurig with?
There are a few different options for cleaning your Keurig. Household items like vinegar, water and citric acid work well (we walk you through how to use them below). When in doubt, Keurig cleaning pods or a descaling solution are available. They remove mineral buildup and get your Keurig brewing like new in minutes.
How to Clean Your Keurig

Tools and Supplies
Keurig sells everything you need to keep your machine in tip-top shape—conveniently available in one easy-to-order package. Each item is also available individually. The Keurig 3-month maintenance kit includes:
- Keurig rinse pods: These Keurig rinse pods are just like coffee pods, except instead of dispensing coffee, they descale the machine and remove residue buildup from the pod holder. Pop one in the pod holder, brew a large cup and dump whatever pours out. Then, run a large brew cycle with water only to rinse away the cleaning solution. These are especially handy to use before brewing a delicate drink like tea.
- Keurig descaler: It may take a little longer, but Keurig descaler is always a good option. It’s formulated with citric acid to safely clean the brewer. Just pour it into the empty water reservoir, add water and run several brew cycles to clean the machine thoroughly.
- Water filter cartridge: Finish your Keurig cleaning cycle by adding a water filter cartridge to the reservoir. It removes chlorine from the water tank, leaving you with great-tasting coffee. Each cartridge lasts up to two months.
Directions
Follow these steps when properly learning how to clean your Keurig. Once you learn how to do it, you’ll remember the steps every time you clean. The first time, make sure to take a peek at your specific Keurig model’s recommendations to see whether certain parts (like the water reservoir) can go in the dishwasher.
Step 1: Take apart your Keurig
In order to clean everything as thoroughly as possible, you will want to disassemble your Keurig. You should be able to remove the drip tray, the water reservoir and lid, and the K-cup pod holder.
Step 2: Wash removable parts and reassemble
After taking everything apart, wash the water reservoir with soap and water, and rinse thoroughly (because you don’t want soapy coffee!). Let the reservoir drip dry in order to avoid towel lint sticking to the sides that could eventually end up in your coffee cup.
Adam Adelson, coffee director and managing partner at Hydr8, advises against leaving water in the reservoir for more than a couple of days. “A dark, warm reservoir with standing water is exactly where bacteria and biofilm like to set up shop,” he explains. “If the machine sits over a weekend, dump the reservoir Monday morning, give it a quick rinse and fill it fresh before you brew.” If you brew coffee every day, make filling the reservoir with fresh water part of your routine. “It takes 10 seconds, and your coffee is going to taste better for it,” he says.
Take this opportunity to clean out the needles that pierce your K-cup every morning, too. Take a straightened paper clip to loosen any coffee grounds that have gotten stuck.
Then, take a damp, soapy, lint-free cloth to wipe down the drip tray and the K-cup pod holder. After you reassemble, wipe down the exterior of your machine as well.
Step 3: Descale the Keurig
Every three months or so, take an additional step and descale the Keurig. Scale forms when calcium hardens, and mineral deposits dry up within water. When you fill up a Keurig with hard water—that is, water with a high level of mineral content—it can cause buildup in the brewer and prevent it from working correctly.
If your household has hard water—and most do—Adelson recommends descaling your coffee maker every four to six weeks. “You’ll know it’s time when the brew cycle starts taking longer or the machine sounds like it’s working harder than usual to push the water through,” he says. “If you’re on softer or filtered water, you can stretch that to every three to four months.”
Hard water also impacts the taste of your coffee. Yuck! But don’t worry. You can descale a Keurig using a few different methods:
How to Clean a Keurig with Keurig Cleaning Solution

Keurig has created and officially approved its own Keurig descaling solution, which is made for all Keurig coffee makers, from the K-Elite to the K-Mini Plus.
Unplug and turn off the machine, then fill the water reservoir with one part Keurig descaler and one part water. Place a coffee mug underneath the dispenser and brew one cup of hot water. Pour the water out once it’s done, replace the mug and repeat this step until all the water is gone out of the reservoir. Rinse the water reservoir, fill it up with fresh water, brew 3-4 additional cups of hot water and pour it out. Voila! A descaled Keurig. If you have the Keurig K-Duo, you’ll want to repeat this process with the carafe side, too.
How to Clean a Keurig with Vinegar and Water
Fill the water reservoir to the halfway mark with white distilled vinegar, which is key to removing scale buildup, and fill the other half with water. Begin the brew cycle sans K-cup, and repeat until the entire reservoir is empty. Once the water reservoir is completely empty, repeat with plain water to flush out the vinegar taste.
How to Clean a Keurig with Citric Acid
Like vinegar, citric acid is great for sanitizing a Keurig, and a simple homemade way to get rid of any scale that’s formed. You can find citric acid at spice shops, in your grocer’s canning aisle or on Amazon.
Prepare a citric acid solution by combining 1 to 2 tablespoons of citric acid with about 4 cups of water, and pour it into the water reservoir. Place a coffee mug underneath the drainage spout and brew a cup of hot water, then pour it out and repeat the step. Fill up the water reservoir with water again, and keep brewing until there’s nothing left in the reservoir.
How to Maintain a Keurig Between Cleanings

Keurig Rinse Pods
Keurig rinse pods are just the thing to keep your Keurig fresh weekly without doing a lot of work. To use, simply place a large mug on the Keurig drip tray. Lift the handle and insert a Keurig Rinse Pod, just like you would with a coffee capsule. Brew the rinse pod on the 8-ounce brew setting. Remove and discard the rinse pod and the brewed rinse solution, then do an 8-ounce water brew to completely rinse. Done!
You’ll taste the difference, especially if you use a variety of flavored coffee and tea pods. No more cross-contamination between chai teas and cinnamon roll coffee flavors. You can also buy non-Keurig branded cleaning pods on Amazon.
Keurig Water Cartridge Refills
If your tap water has a lot of chlorine, it will impact the taste of your coffee. Never fear. Keurig water cartridges help remove chlorine from the Keurig tank. For best results, replace the cartridge every two months or after 60 tank refills. Six water filter cartridges should last about a year, depending on how much coffee you’re brewing. And if you have a Keurig, we’re guessing you brew a lot of coffee!
When to Replace Your Keurig

Most Keurig customers say that their machines typically last for three to five years. But here are some other signs that might let you know when to replace your Keurig before then:
- Your Keurig is taking longer to brew a cup: “The biggest telltale sign that your Keurig is dying is the time it takes to make coffee,” says Matt. “If it usually takes 90 seconds but is now taking 2-3 minutes, then it’s time to get a replacement.”
- Your coffee doesn’t come out piping hot: If your Keurig is brewing lukewarm coffee, get a new Keurig you can count on; you might opt for one of our picks for the best single-serve coffee maker, as reviewed by our Product Testing Team.
- Your coffee is too watered down, or your Keurig is leaky: You don’t actually want your coffee to taste like bean water.
- Your Keurig is getting noisy: To be fair, your Keurig isn’t exactly silent, but it shouldn’t be making that much of a ruckus. Matt says, “If the machine is getting louder or making irregular noises, then you should start to look for a replacement.”
By knowing the best ways how to clean a Keurig coffee maker, you’ll extend the life of your beloved caffeine machine. Once it’s sparkling clean again, it will be one of your favorite appliances in the kitchen.
About the Expert
Matt Woodburn-Simmonds is the co-founder of Home Coffee Expert, where he and his wife, Katie, test equipment and share knowledge to help people make better coffee at home.
Adam Adelson is the coffee director and managing partner at Hydr8, where he manages coffee equipment programs for businesses across the Northeast.
Taste of Home Shopping Writer Barbara Bellesi Zito contributed additional reporting to this story.