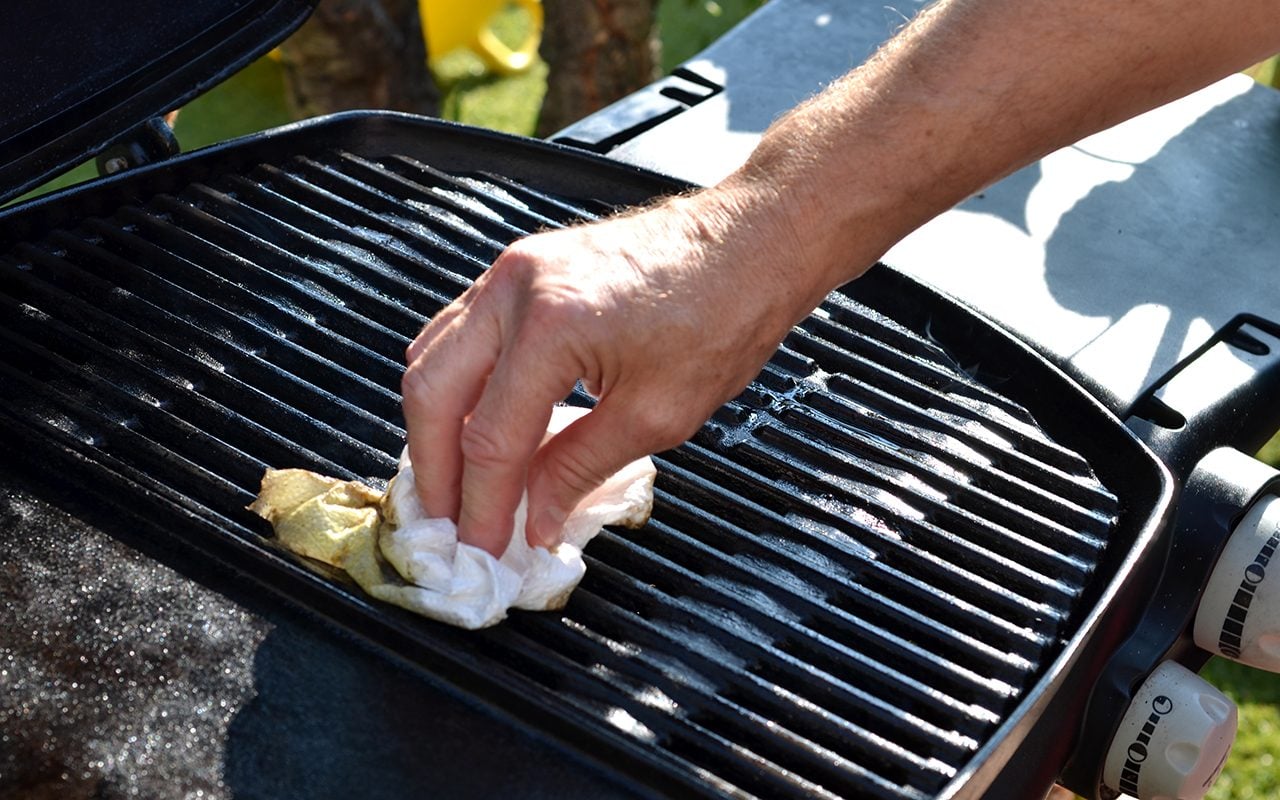
Ready for cookout season? Here's how to season your grill grates so you can grill burgers, chicken and veggies like a pro.
About eight years ago, I became the proud owner of a grill. I was working in a professional test kitchen in New York City and was one of the few on the team with outdoor space. We needed to test a bunch of recipes, including a smoked brisket, and a grill pan wasn’t going to cut it. I debated what grill to choose and settled on a classic charcoal kettle grill. After a long afternoon of assembly, I noticed directions for how to season the grill grates. I thought I knew how to use a charcoal grill, but I totally overlooked this essential step.
Not all grills grates require seasoning. Small, portable or electric grills with nonstick or aluminum grates and high-end porcelain-enameled grates can be used without this step. But stainless steel and cast-iron grates benefit from seasoning to keep the grates nonstick and to protect them from rust. For new and well-used grills, seasoning the grates is an important step, in addition to cleaning your grill. If you’ve never seasoned your grill grates before, never fear! It’s a simple process, and we’ll walk you through the steps.
Why do I have to season grill grates?
Seasoning grill grates protects the grates from the inevitable wear and tear that comes with cooking over very high heat. Similar to seasoning a cast-iron skillet, the process adheres oil to the grill grate’s metal surface to create a thin nonstick coating. Here are a few major benefits to seasoning your grill grates:
- Prevents food from sticking: You can’t pour oil into a grill as you can into a skillet, but seasoning the grates essentially does the same thing. It creates a barrier between the cooking surface and the food so nothing sticks to the grates. This is especially critical when grilling sugary recipes, like grilled peaches, or foods with thick sauces, such as barbecue chicken.
- Keeps rust away: Rust oxidizes the metal of your grates, essentially eating away the metal and making it brittle and flaky. If you don’t season your grill, there won’t be a protective coating to keep moisture and oxidation at bay, which can cause it to rust.
- Increases the life of your grill: Grills aren’t cheap or quick to assemble (I learned this the hard way). The last thing you want to do is defer routine maintenance and find yourself needing to replace your grill quickly. Even a simple charcoal kettle grill can be just as good 5 to 10 years later if you keep the grates clean and seasoned.
How to Season a New Grill
Even though it’s tempting to immediately start prepping your favorite hamburger recipes, taking the time to season a new grill ensures you don’t end up with a frustrating mess of stuck-on food the first time you try it out. Plus, the high heat will burn off any dust or residue left on the grates from the manufacturing process.
Step 1: Clean the grill grates
Use a grill brush to clean the grill grates, brushing away any dust or debris from the box or packaging. Depending on the type of grill grates you have, you may want to use a stiff wire brush or a bristle-free brush like Grill Rescue.
Step 2: Oil the grill grates
Fold a paper towel into a small square and dip it in a neutral oil with a high-smoke point, like canola oil. Rub it over the grates in a thin, even layer. Try not to drip too much oil inside the grill, as it will cause flare-ups when you heat the grill.
Step 3: Heat the grill
Turn the grill to high heat and close the lid until it reaches between 400° and 450°F. Allow the oil to cook for 30 to 60 minutes. The grates will darken as the oil and smoke work their magic. The grates will get darker with each seasoning as that signature grill flavor builds up.
Step 4: Let the grill grates cool
Let the grill cool completely before using it. This allows the oil to bond with and bake into the grates fully.
How to Reseason Grill Grates on an Old Grill

Reseasoning an old grill’s grates is a good idea if your grates look dull or need a deep clean. You can follow the same steps as for a new grill, though the initial cleaning may take more time and elbow grease, especially if you haven’t used the grill for months and need to prepare your grill for summer.
Start by scrubbing off any food debris and inspecting the grill for rusty spots, which need to be removed before use. Rust is a sign that the metal is corroding and flaking, and cooking on rusty areas may cause it to transfer to your food. You may be able to remove the rust with a stiff grill brush if it’s a small area. For stubborn spots, try using balled-up aluminum foil (one of our favorite ways to clean a grill without a wire brush) or soaking the grates in a 2:1 mixture of baking soda and vinegar.
After the rust is removed, wash and dry the grates. Then, oil and heat the grill as you would a new grill.
Tips for Seasoning Grill Grates
Is seasoning the same for all types of grills?
The seasoning process is the same for all types of grills with cast-iron or steel grates. It doesn’t matter if you have a pellet, charcoal or gas grill; what matters is the metal material of its grates. Some grill companies, like Weber and Traeger, sell porcelain grill grates that already have a nonstick coating and do not need to be seasoned, so check with your manufacturer before you start to avoid damaging or removing the finish.
What is the best oil to use when seasoning grates?
Seasoning your grates requires very high heat, so it’s important to use a type of cooking oil with a high smoke point, like canola, peanut or avocado oil. These oils have smoke points over 400°, with avocado oil reaching 500°. The high smoke point ensures the oil won’t burn, which can ruin the seasoning process as well as the taste of your food.
How often do I need to season my grill grates?
You will probably need to season your grill grates every three to four months, but this range can vary depending on how well you maintain your grill or how frequently you use it. When the grates look dull or food doesn’t release easily, it is likely time to reseason. To get the most from each seasoning session, keep the grates clean of food residue and invest in a cover to protect your grill from the outdoor elements.